Pages

Monday 28 January 2013

Grim Dystopia Revisit Part 2

Hey guys, If you've been following my progress I'd like to say thanks! but for all you newcomers here is what I've been working on recently. I've created a scene called Grim Dystopia. Where I set myself a refresher challenge in UDK, to use existing source assets to create a scene out of 100 different objects in 16 hours. I managed to do it with time to spare along with 88 out the 100 different objects in the scene!

So with my previous post I decided to go back to my Refresher UDK scene and tweak some things. I decided that I'd tweak the lighting orientation and make the scene less static. I did that buy adding a more sinking image to the crevasse which blocks the player from entering the mansion. I wanted the player to know that as soon as they see it, its a danger zone and they do not want to go anywhere near it! I think it worked out pretty well without the need to completely overhaul it and add unnecessary hours to a finished product.
I also decided to render the scene in production just to see how long it took, not too long it seemed! but soon as it finished it crashed 0_<! but not to worry, I managed to complete a new render and it came out fine. There is such a huge difference between preview and production.

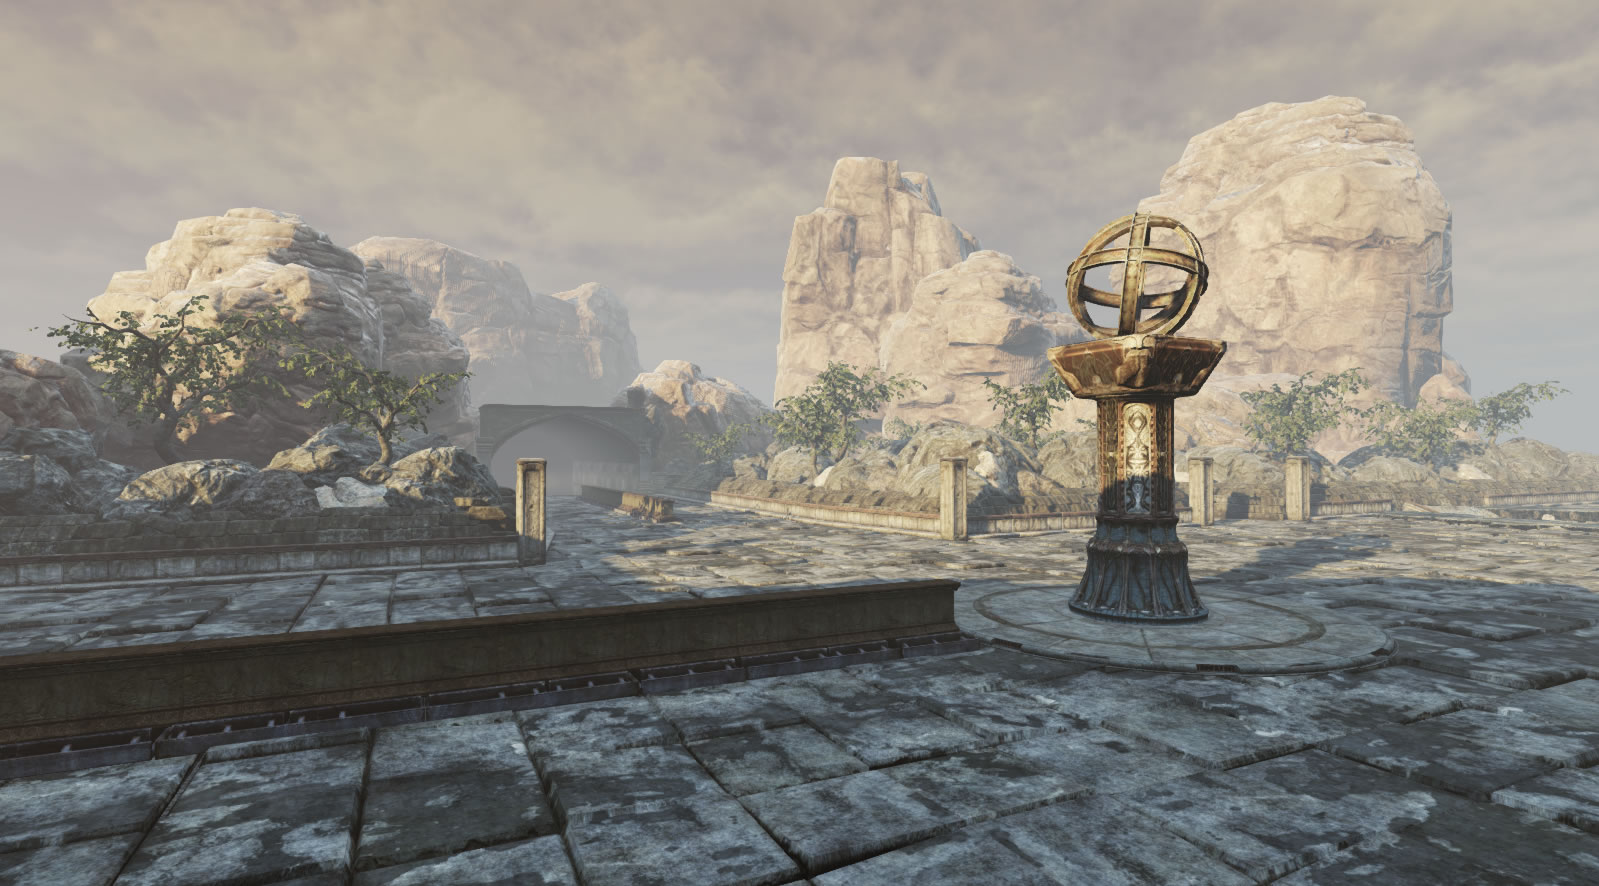
Here are some screenshots of the final scene!


 Since this project is now finished I'll be starting my new scene soon. If you've been following my progress I've been tempted to create a similar challenge of creating a scene out of existing source assets in the CRYENGINE as well!

Thursday 24 January 2013

Grim Dystopia Revisited

Hey guys decided to revisit my UDK project because I wasn't happy with some of the scaling. The pavement blocks looked a little too big and I wasn't happy with the effects on the windows.

So I've changed the scale of the pavement blocks as well as found a nice window/reflection material which seems more appropriate! Here are some initial shots rendered in preview. I will find the time over the weekend to tweak the lighting some more and create a video.  Thanks for looking!


Tuesday 15 January 2013

Grim Dystopia Part 5

So Ive been working hard and finished up the final stages of my refresher challenge back into UDK.
Here is a brief overview of what the challenge was.

Title: Grim Dystopia

Programs used: UDK

Challenge: In 16 hours create a scene using existing assets in UDK with a maximum of 100 different objects in the scene.

Results: Managed to complete the project in 15 hours with 88 different objects in the scene!

I finished up tweaking some of the object placement and then concentrated on the detail as well as adding in some particle effects and tweaking the fog and lighting.

Here are some final images once the scene lighting was rendered on preview.


I'm fond of the stark contrast between the flats and mansion in this scene. If I have more time at a later date I'd like to go back to the scene and had some smoke/flame/graffiti decals onto the mansion to illustrate the distaste of the residents living so close to wealth.


The city scape in the background blends well with the architecture of the flats. I feel as if I get a sense that this is a poorer part of town and the residents are envious of the more luxurious flats in the distance.


I didn't want to fill the scene with unnecessary clutter. I had limited objects to work with so I didn't want it to become too much the same. The scene has a large expanse and a few important objects scattered around give off a sense that people are scared and possible abandoned their homes in the wake of some incident.


Sunday 13 January 2013

Grim Dystopia Part 4

In Part 4 I concentrated on building up the rest of the scene, mainly the mansion area which I explained in Part 2. This creates the contrast between the drab building flats and the luxury of the mansion. I think it worked out well.

Here are some images of Grim Dystopia's progression:

I started adding more detail to the flats, adding lights and posts on street corners. How could they see in the dark without lights?


I'm fond of this image, its shows the progression from a group of random objects to a full working environment.


More of a overview screen of how the environment is progressing.


Here is the mansion, built of of modular panels, I think its made up of about 10 different objects:


And finally here is the screen of the blockout finished. All there is to do now is to add in the detail, the introduction of particle effects and tweaks in the lighting.

Grim Dystopia Part 3

In Part 3 I mainly concentrated on building up the scene so that all the block out was complete so I could concentrate on assigning materials, placing effects and adding detail. The hardest part I faced in this part was creating the broken up crevices of the damaged road but it was loads of fun to make and get it right.

Here are some progression screens: 


I decided the discard the old block out because I now needed to tile the ground texture. The blockout is now made up of tiled blocks so that the texture isn't stretched.


One section of the environment is completely done in terms of blockout. A good way to test to make sure you haven't missed any areas is to fly around at player level making sure to backtrack and look from all angles.


Grim Dystopia Part 2

Following on from Part 1 of Grim Dystopia, I've managed to spend a good few hours working on it and I've been building up the scene nicely. I concentrated on blocking out the previous section and also the center of the environment. Building up the flats using modular assets. I think they turned out nicely, I wanted them to be dull and drab for what comes later in the scene, a luxurious mansion. 

Here are some more screens of progression:


From the start of the project I wanted a center piece in the middle of the square, I thought this seemed appropriate, a mix of old and new brought together.


I also started experimenting briefly with particle/lighting effects although these usually come later in project, its always good to experiment to see what works and doesn't work depending on what you're trying to achieve with the scene.


I tried recreating the last image of Part 1 with some tweaks with the environment.

Grim Dystopia Part 1

Contrary to my previous thoughts, I thought getting back into Unreal from a 5 - 6 month hiatus would prove to be difficult, but soon as the program loaded up everything started flooding back to me. Unreal is awesome, its given me a kickstarter I need back into Art. 

I thought first off what I thought I'd do is create a scene using minimal assets and use existing assets which come with the UDK examples oh! and also spend less than 16 hours making it. I like a challenge and I thought this will be great start to test myself.

So I started viewing all the existing assets that the UDK Beta comes with, there are some awesome assets in there so pretty quickly I decided to create a futuristic cityscape blending old and new technology, a city set in the mountains. I called it Grim Dystopia.

I chose only to do a section of the cityscape because creating a full city would take far too long. So I planned out the basic blockout through a top down sketch. 


 Apologies for the appalling sketch but it did the job I needed it to do, and that was to get the basics down and get started in Unreal.

I think the basic blockout is the best foundation to work with, when creating a scene from scratch. I need to define what are the staple or most prominent features of the environment and how I can display them in a way that is visually striking as well as conforms to the restraints of a Video Games Level Design.


I started building up assets from the bottom left corner of the sketch once I had the block out created. I chose this spot because its where the player starts from.


When creating something from scratch I like to have a small area in which I put as much detail in as possible to set the scene. This gives me a great sense of what overall I'm trying to achieve with the environment.


Once I finished the small scene I continued building up the starting point with some of the larger assets in the background. Here are a few more screens of progression with the scene:


This final image of Part 1 illustrates the spawn point in which players start from. The foliage really starts making the scene feel more lively and organic.